Callback - Documentation
1. Installation
First, you must download the latest version of the module.
To install the extension, simply access your Joomla administrator panel and open System in the left menu. Then, click on Extensions in the Installation panel.
Open the tab Upload package file, click on the button and locate the ZIP archive mod_callback_j4.zip on your computer. Select it to launch the installation process.
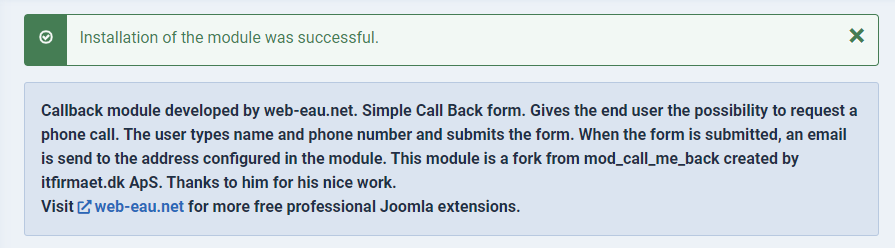
Few seconds later, a message confirm you that the process of installation is successfuly completed.
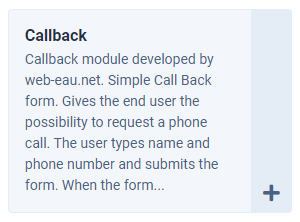
Now, your extension Callback is available in your Module manager.
2. Setup
2.1 The parameters
Let's create our first module.
In the module manager, click on New button.
Then, select Callback in the modules list.
Let's have a look to the parameters of the module:
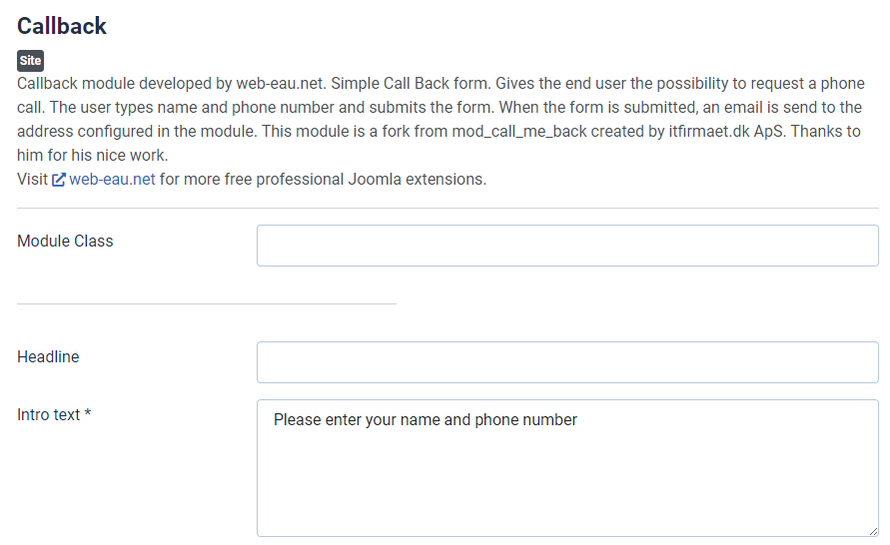
- Module class: indicate here a specific CSS class to your module (optional).
- Headline: indicate here a headline displayed above the module on frontend (optional).
- Intro text: indicate the intro text displayed above the form on frontend (required).
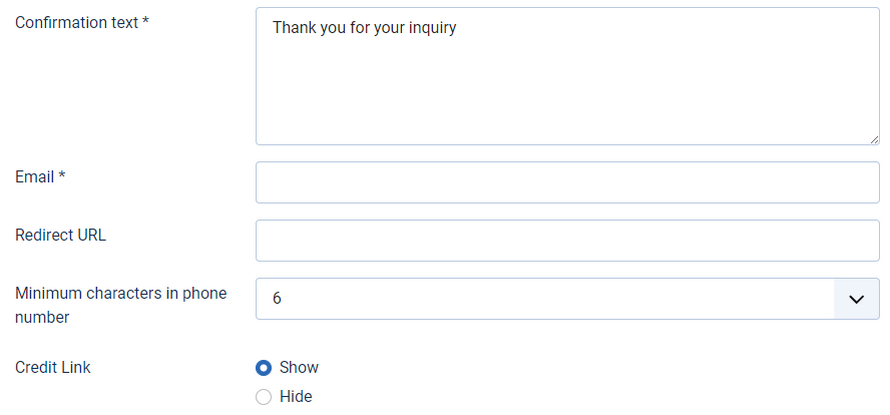
- Confirmation text: indicate here the message diplayed after the form submission (required).
- Email: indicate here the email address which receive the data filled on frontend (required).
- Redirect URL: indicate here an URL if you want the user to be redirect to a spefici URL after form submission (optional).
- Minimum characters in phone numbers: Select the minimum of characters phone numbers filled in frontend must have (optional).
- Credit link: select if the module should display or hide, the credit of the module on frontend (optional).
Select the module position and assign the module to the right page. Once you're done, click on the Save and close button.
3. Example of Callback module usage
